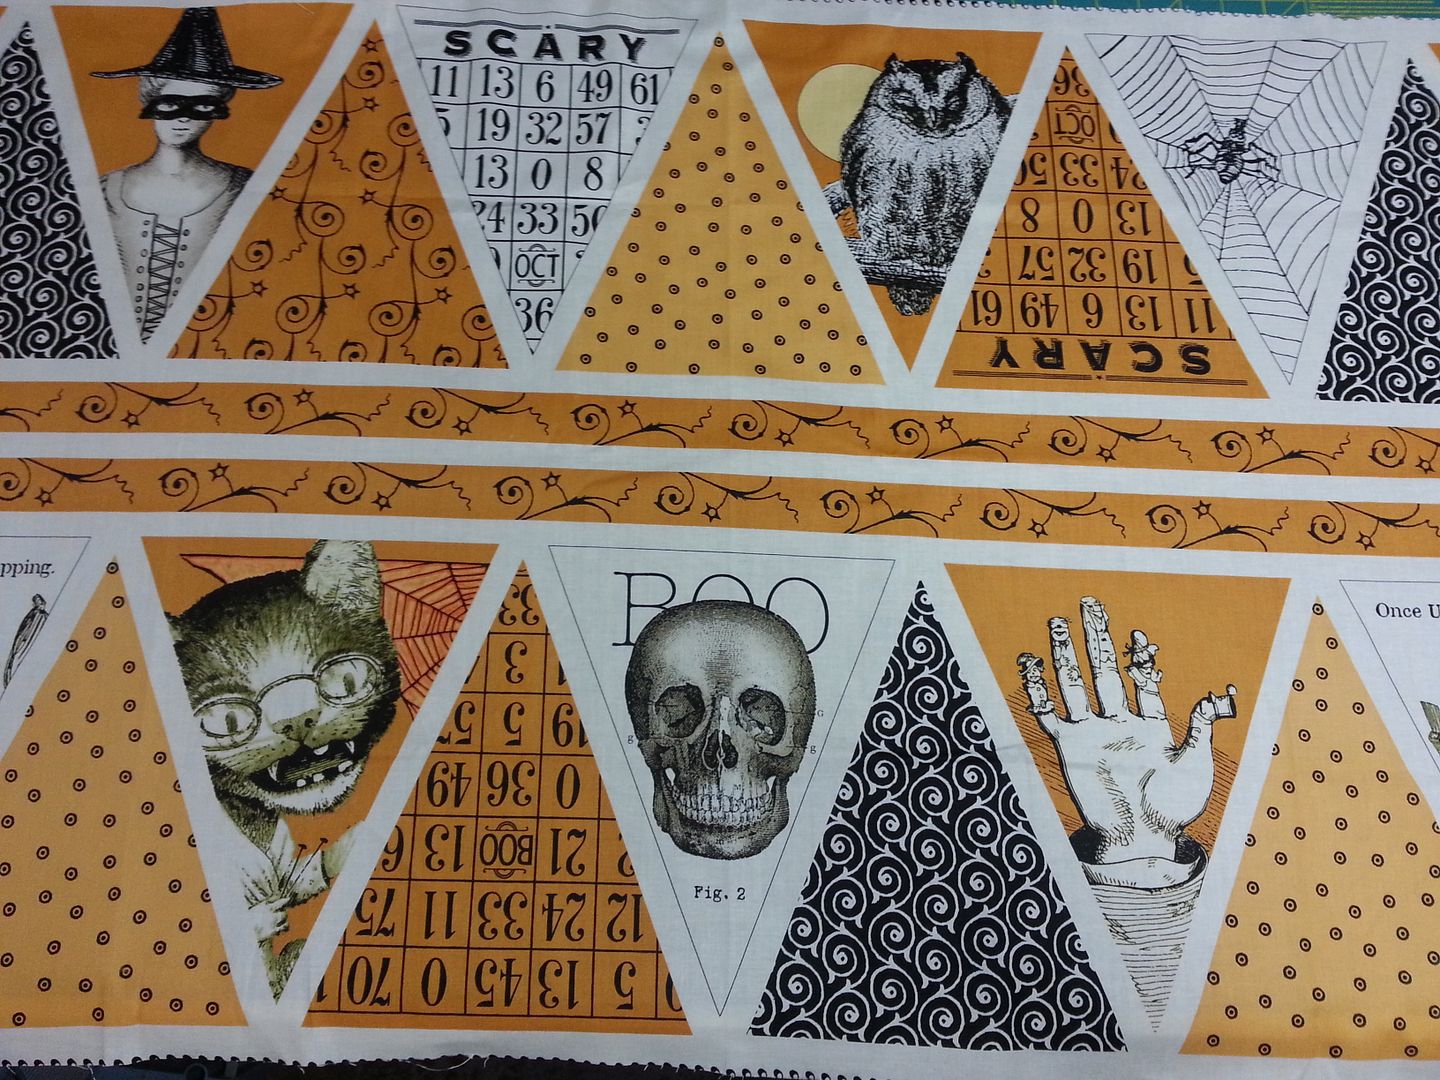
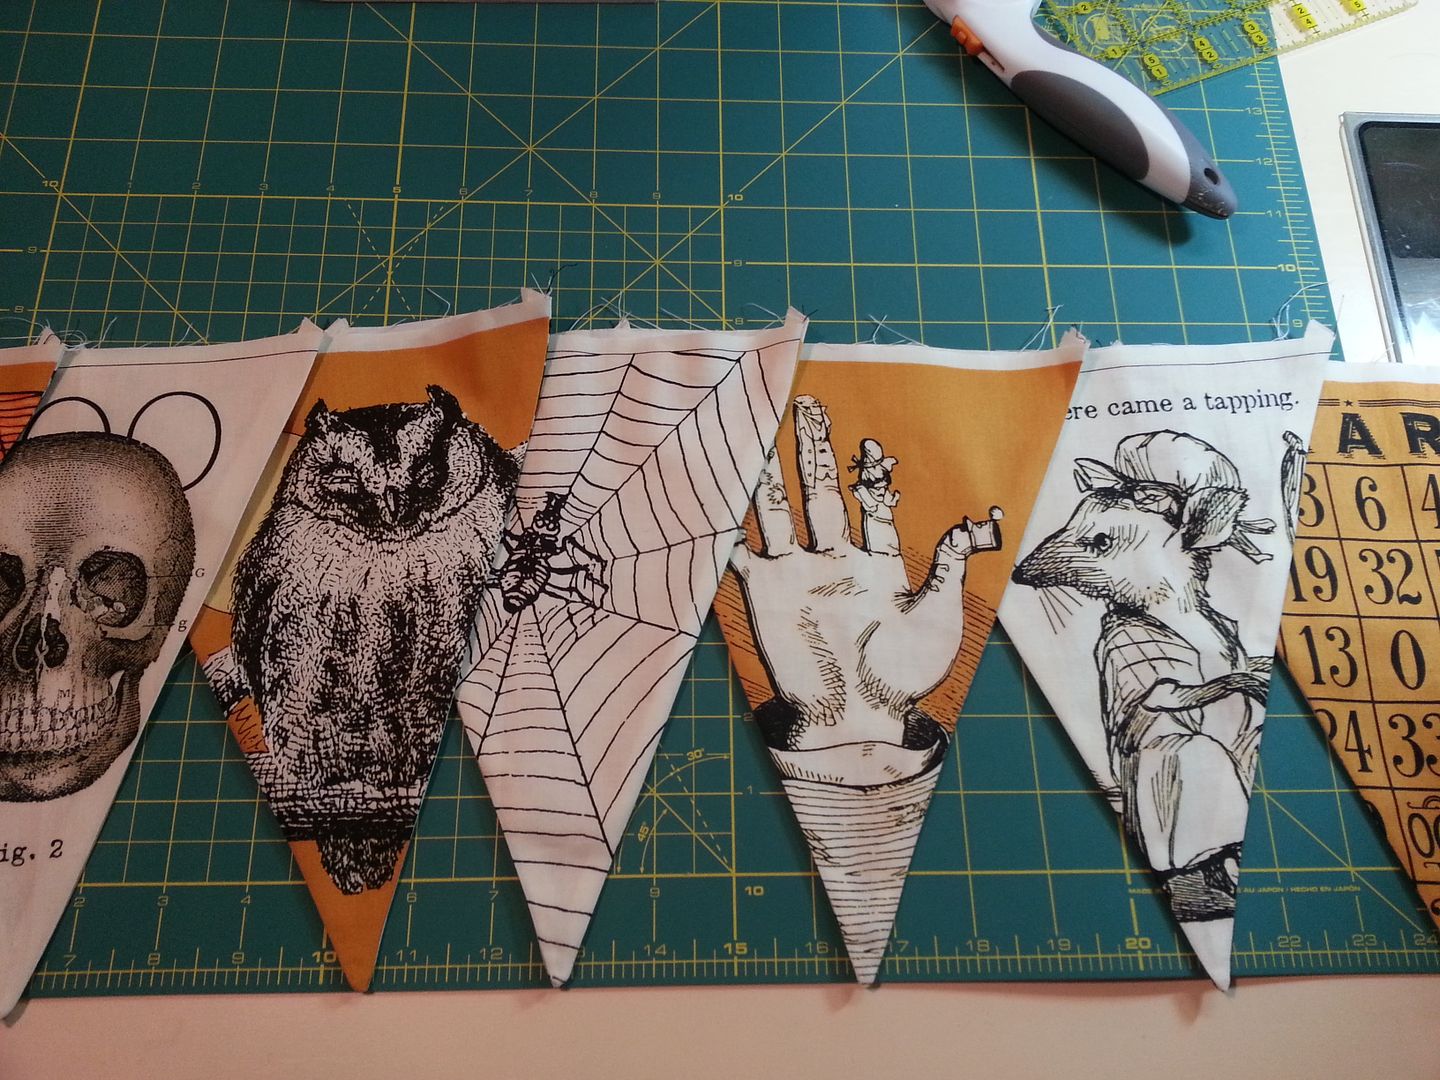
Isn't this cute? It's a great Halloween project to enjoy for years to come. Here are my instructions for working with this great preprinted panel called "Sew Scary" from Quilting Treasures. I knew as soon as I saw it in a shop that I had to have it.
- Make a decision: You can use all of the fabric and create nine flags that have preprinted fronts and backs OR use your own fabric for the backs and make a longer bunting or even two separate strands of nine flags each.
Bear in mind, that you can see one fabric through the other, so if you make it two sided, it will look cute hanging in the middle of a room, but you may want to add a layer of muslin in between the layers to cut down the see-through effect. I know mine will probably always be against a wall so this didn't bother me too much.
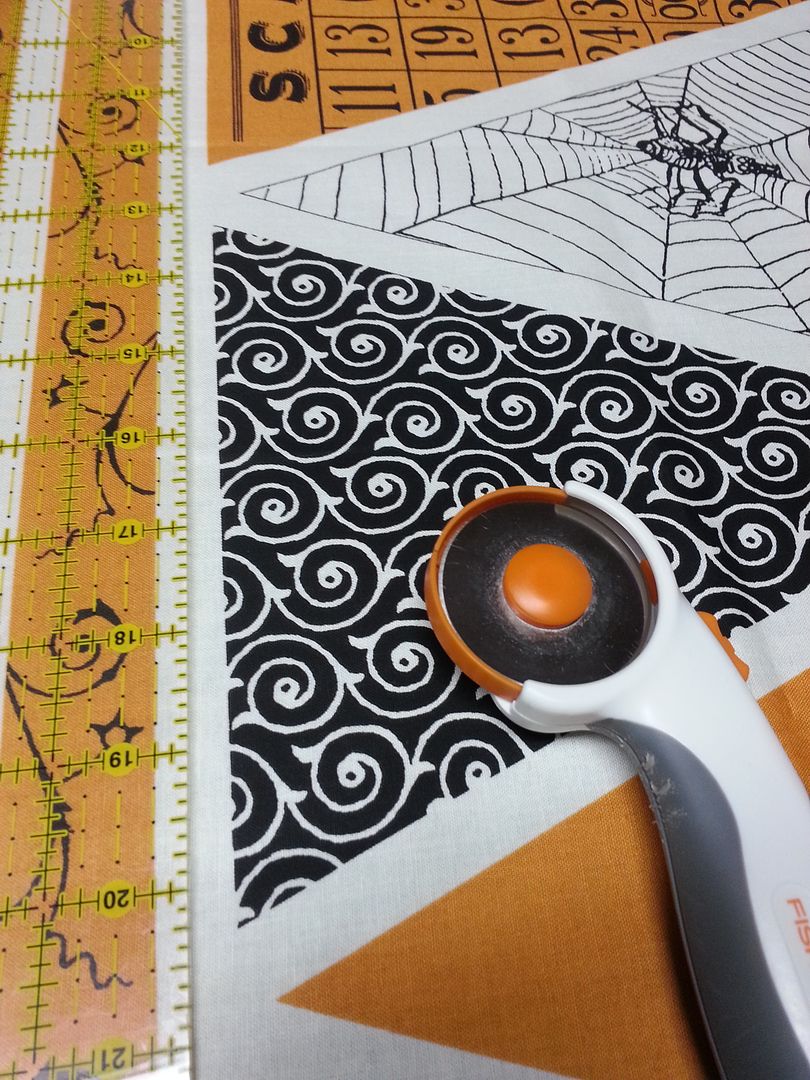
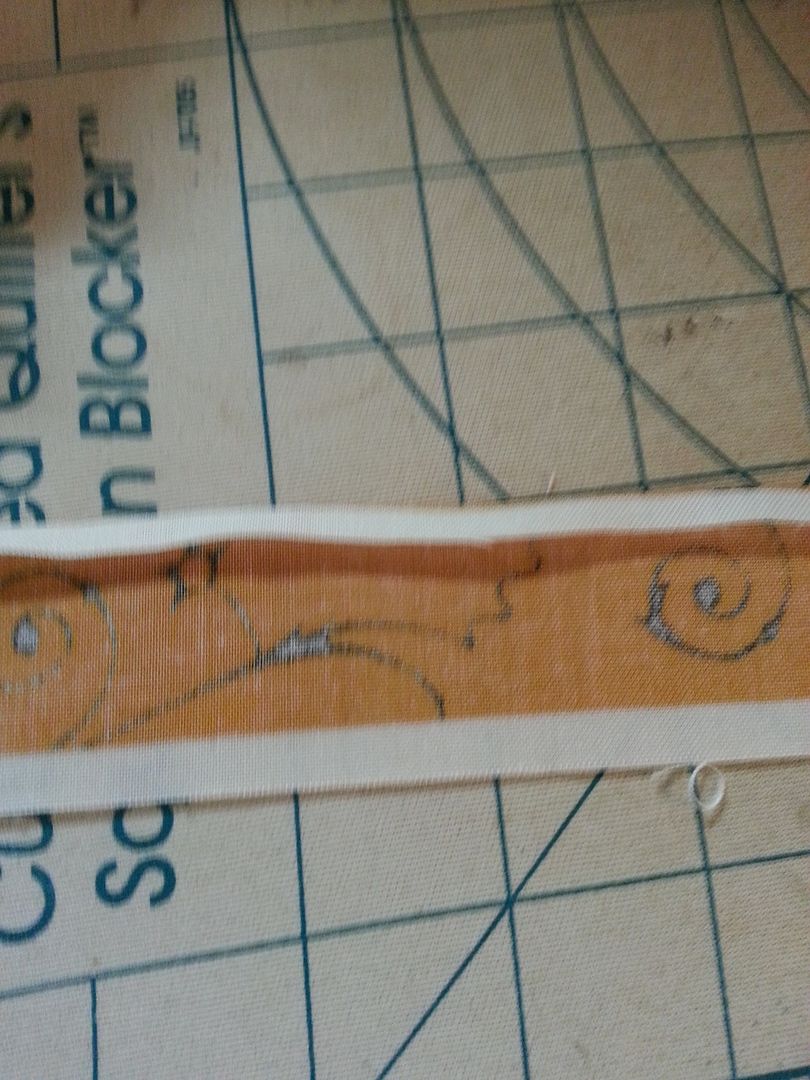
Cut apart all of the pieces leaving a 1/4" seam allowance. This includes the long skinny printed strips in the center of the panel.
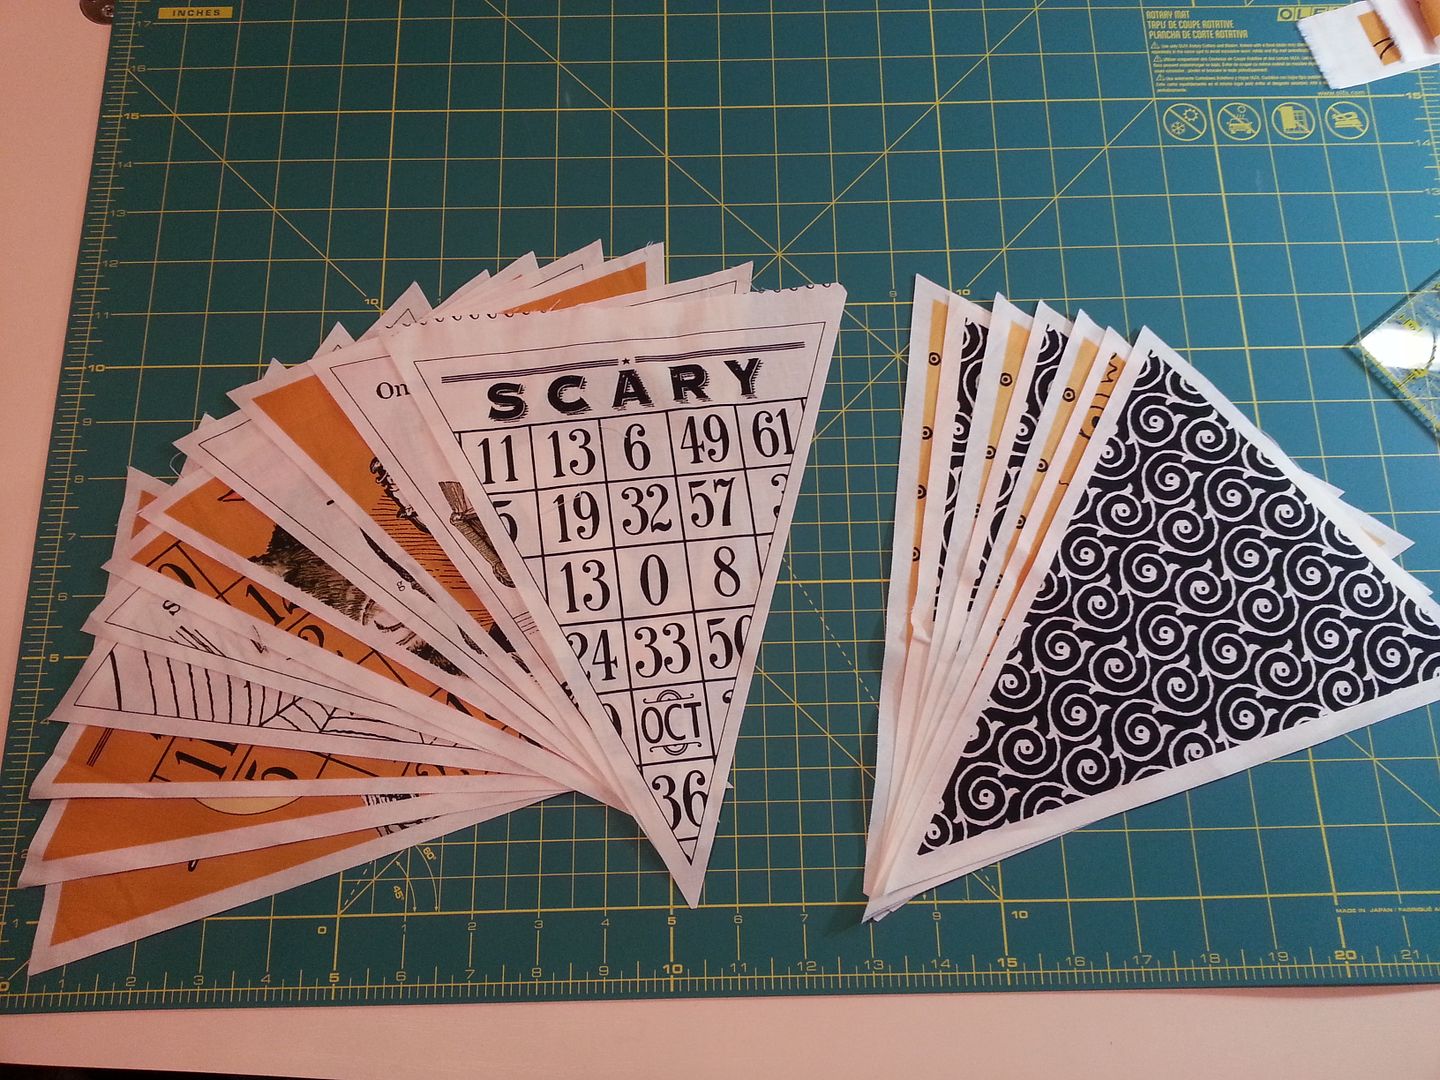
- Make a decision: Pick which pieces will be fronts and backs and pair them up. I started with all of the more plain patterns for backs and then (reluctantly) added a few cute ones from the fronts pile to make them even. If you're using a different fabric for the backs, this isn't an issue.
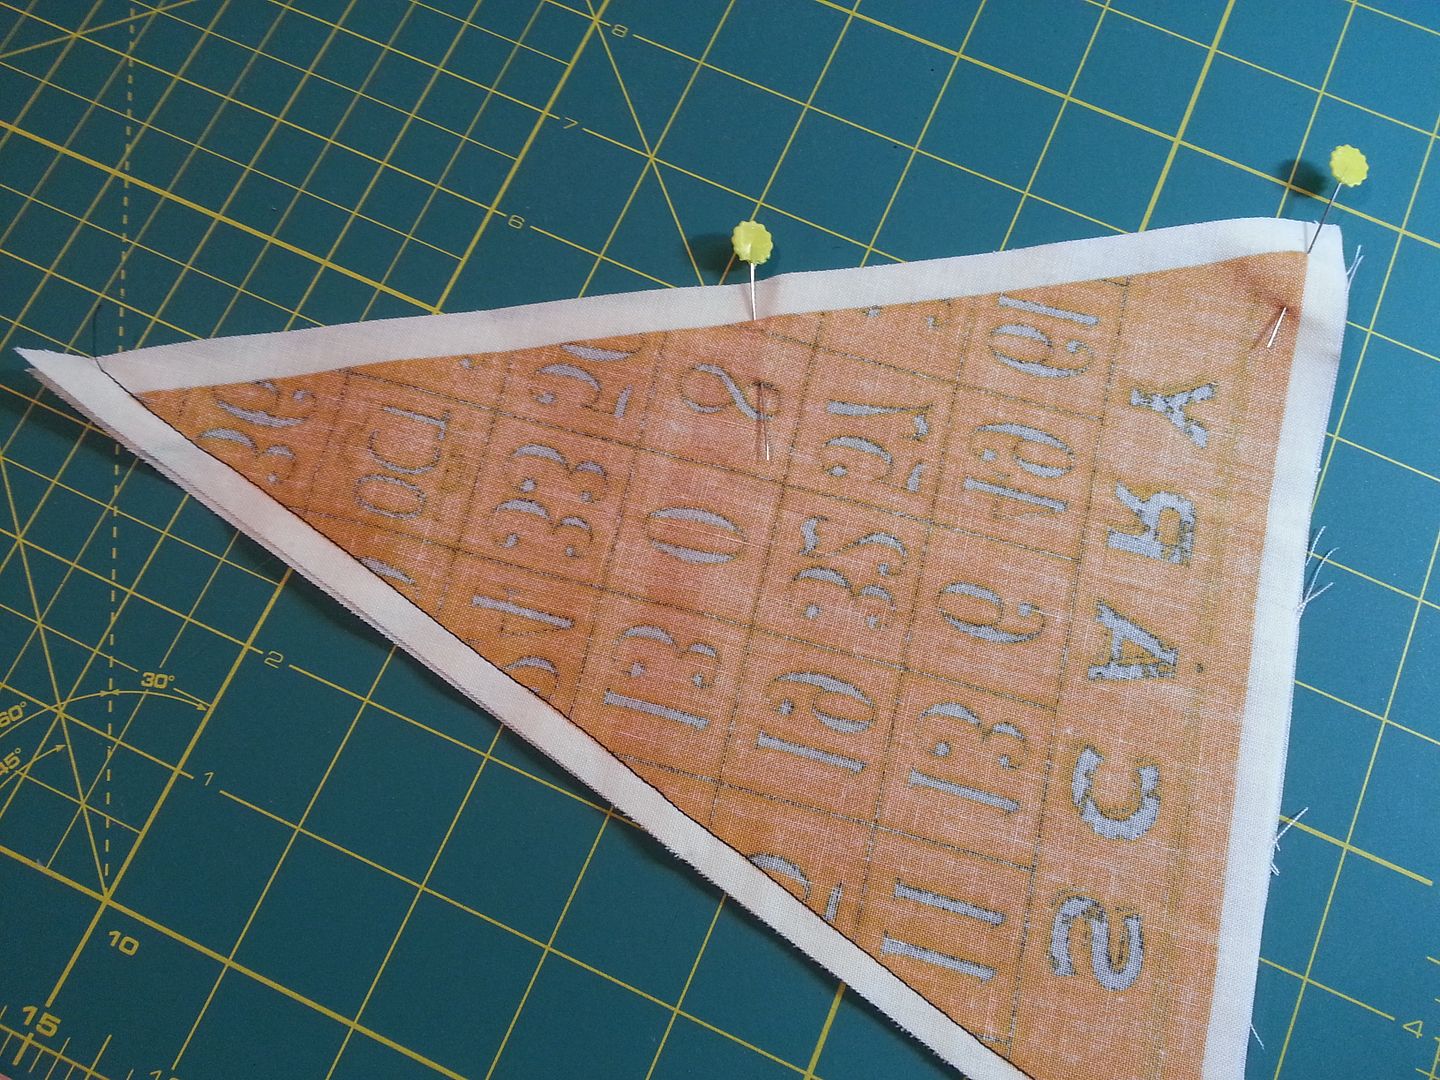
With your front piece on top, pin a pair together on one side matching points and sides.
Sew along one side, using the printed line as a guide, then pin the other side the same way. Handle these bias edges carefully.
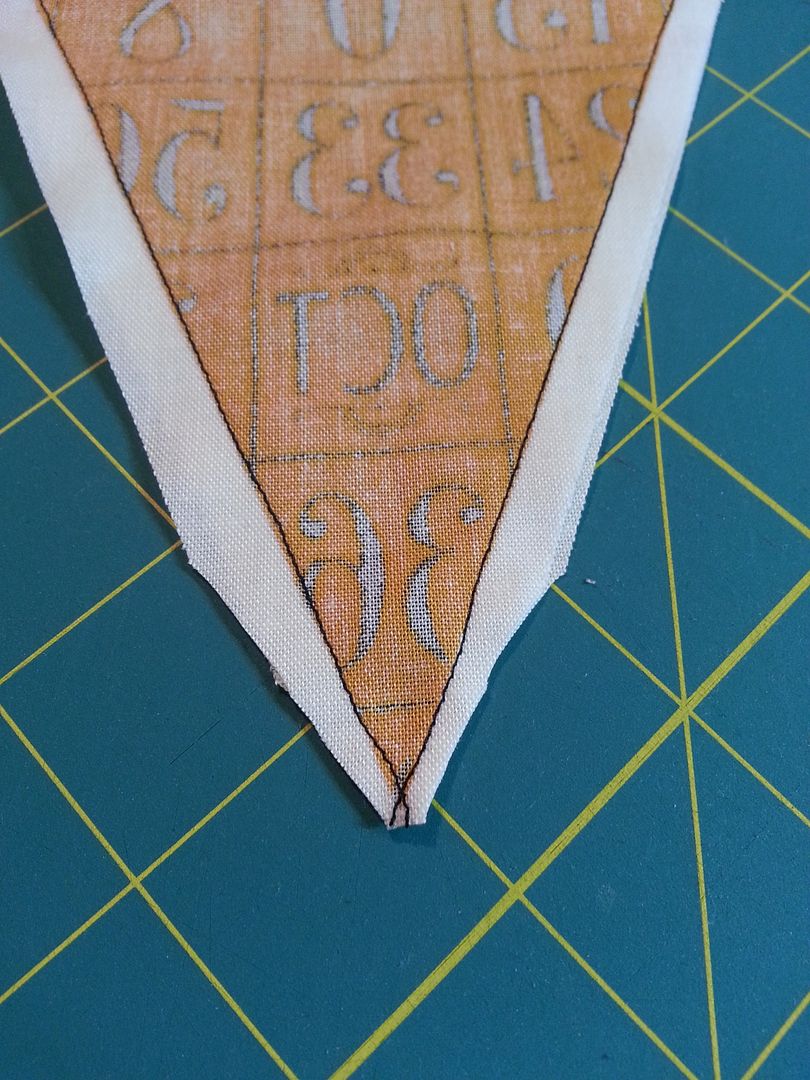
Now trim the points and turn it inside out. I used a chopstick to help make the point. Run the chopstick inside along the side seams to help them flatten.
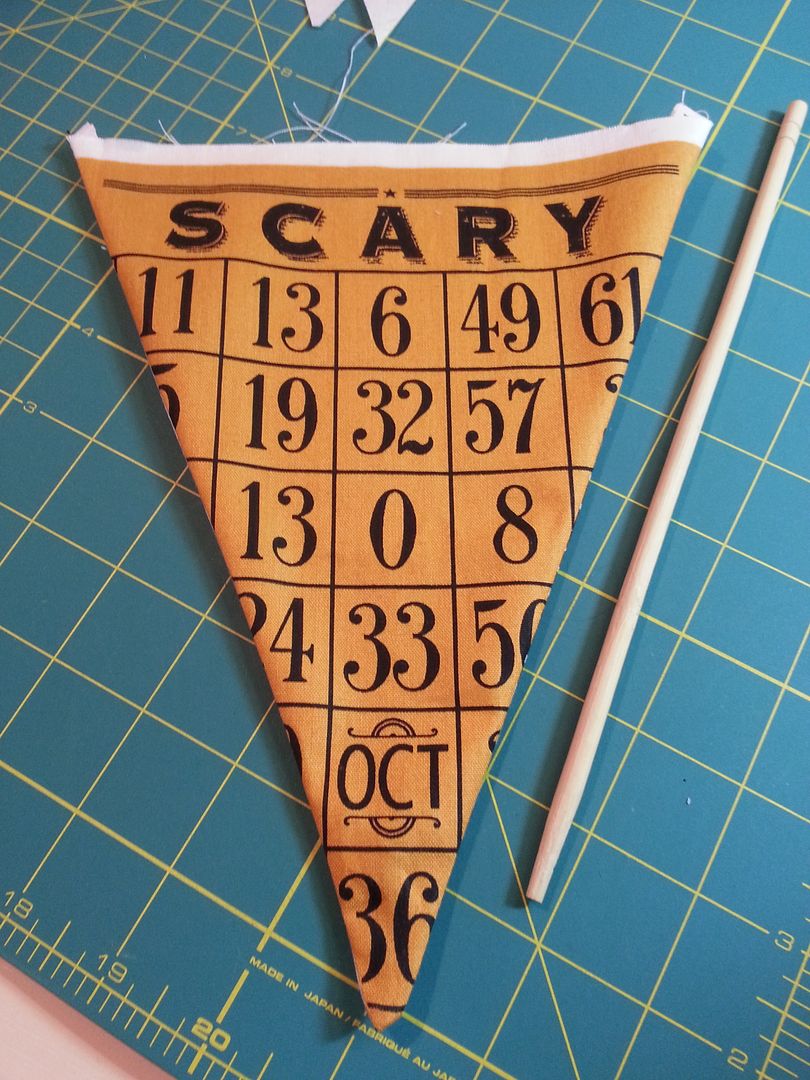
Trim the little "ears" at the top. Make all of the flags this way and press them. (I hadn't trimmed them yet in the following picture.)
Join the two long skinny strips end to end, matching the printed line, and trim the seam to 1/4". Press the seam open.
Press the white seam allowance to the wrong side of the strip on both sides. Then press the whole strip in half the long way with wrong sides together.
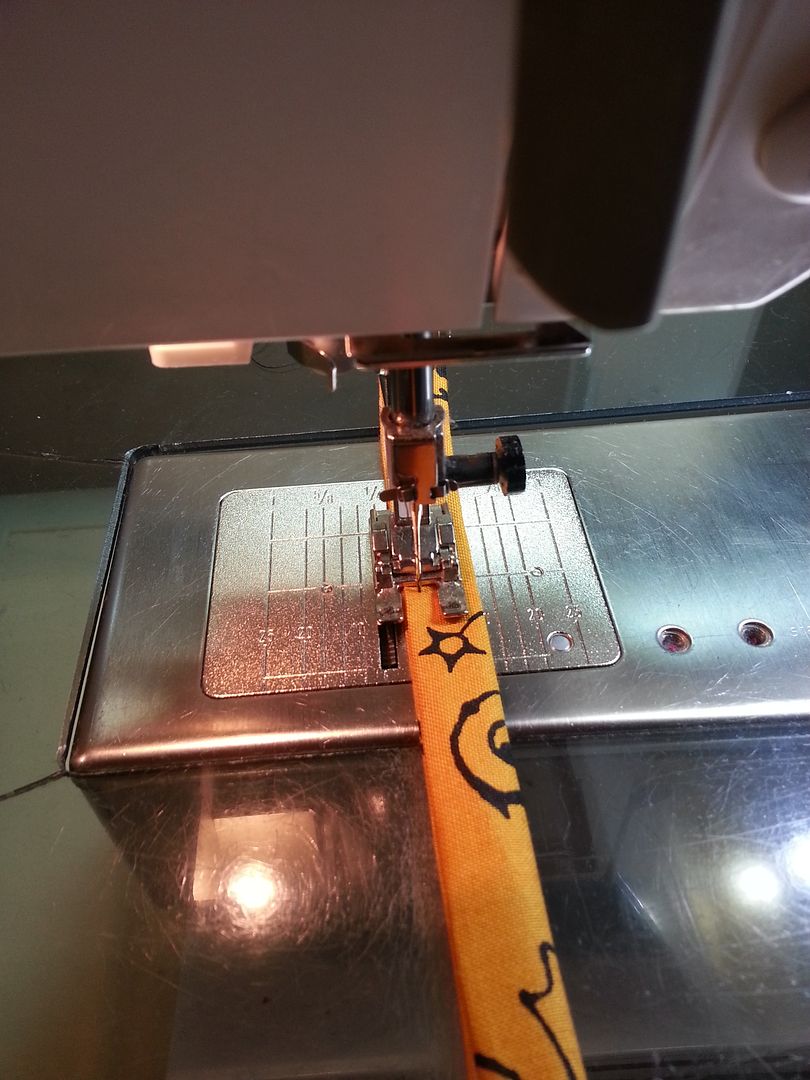
Finally, I've done the math for you. Leave 8" on each end of the strip, and one inch between each flag. Arrange them and pin them inside the fold of the strip you have just pressed. I pinned each in the center as well, just to keep it from shifting around.
Fold in the end to close it up as you sew very close to the edge down the length of the strip. Fold in the last end as well and enjoy!
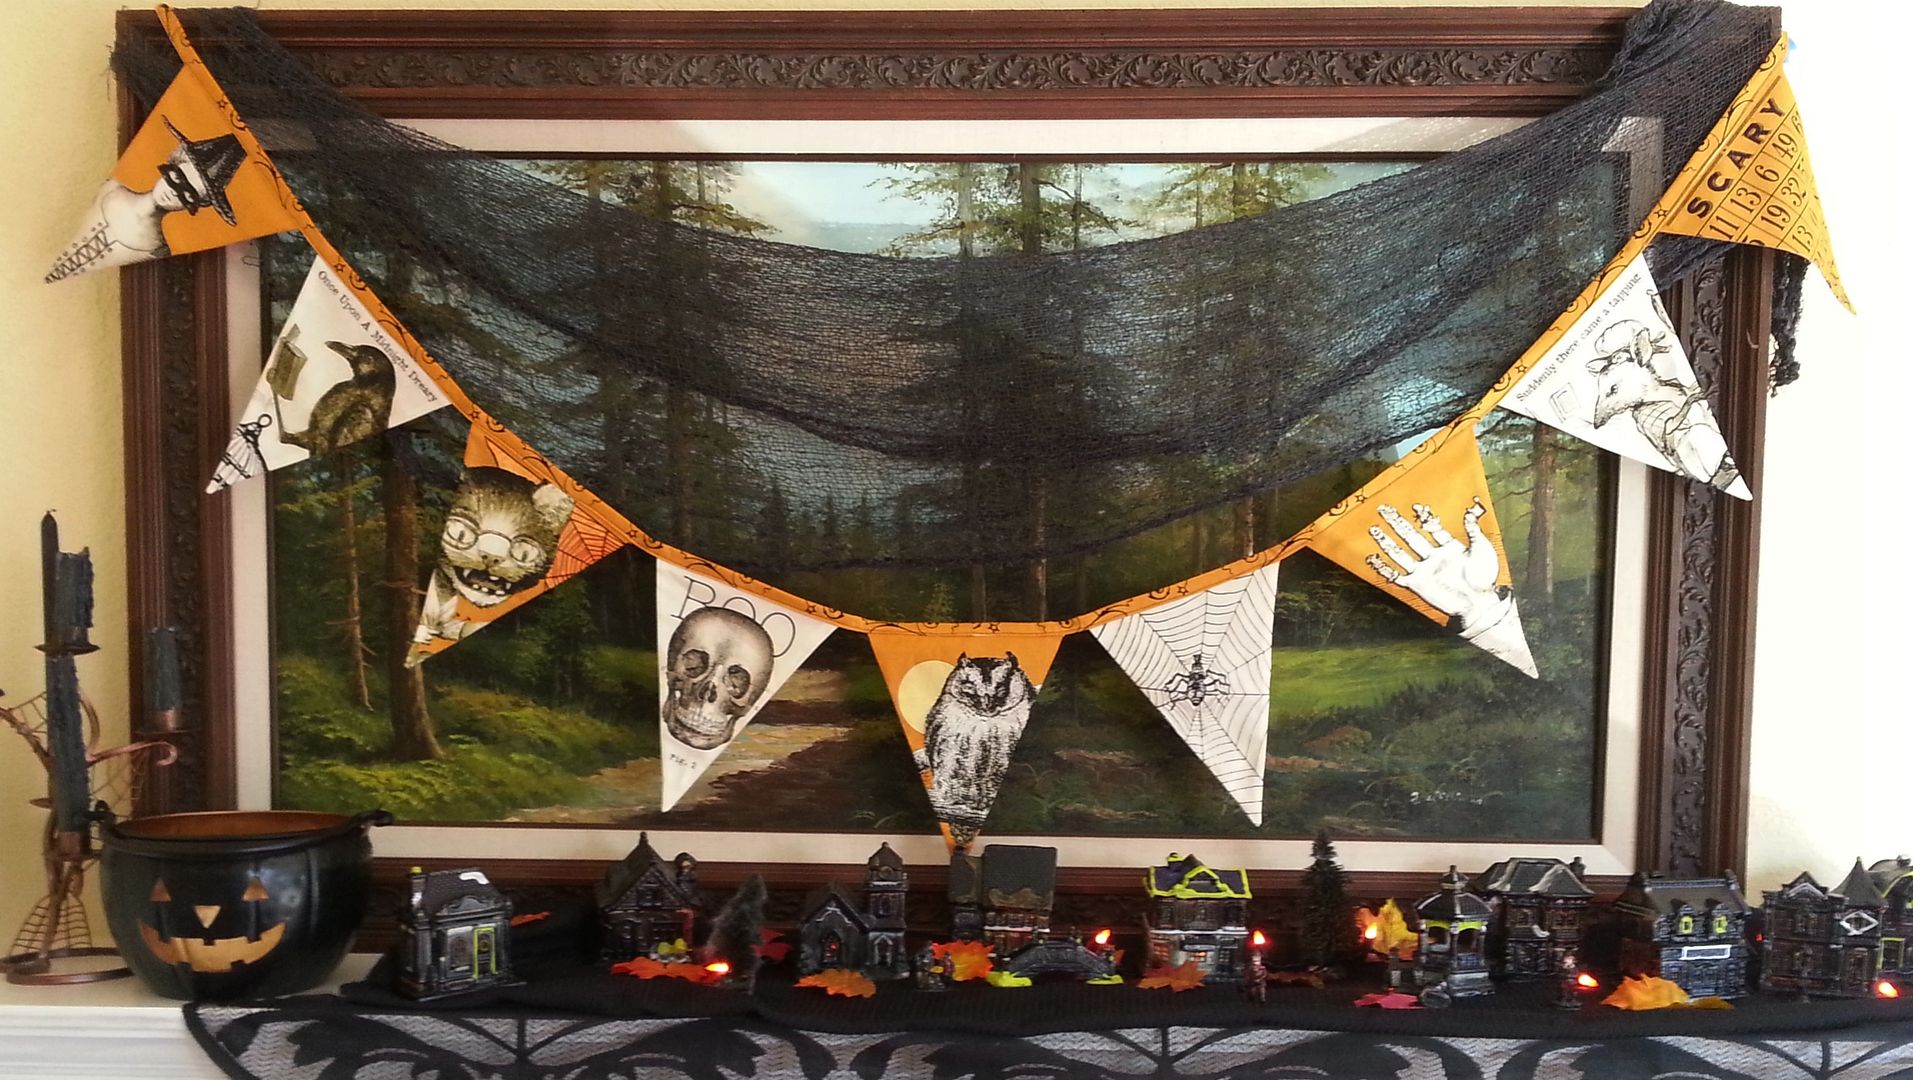
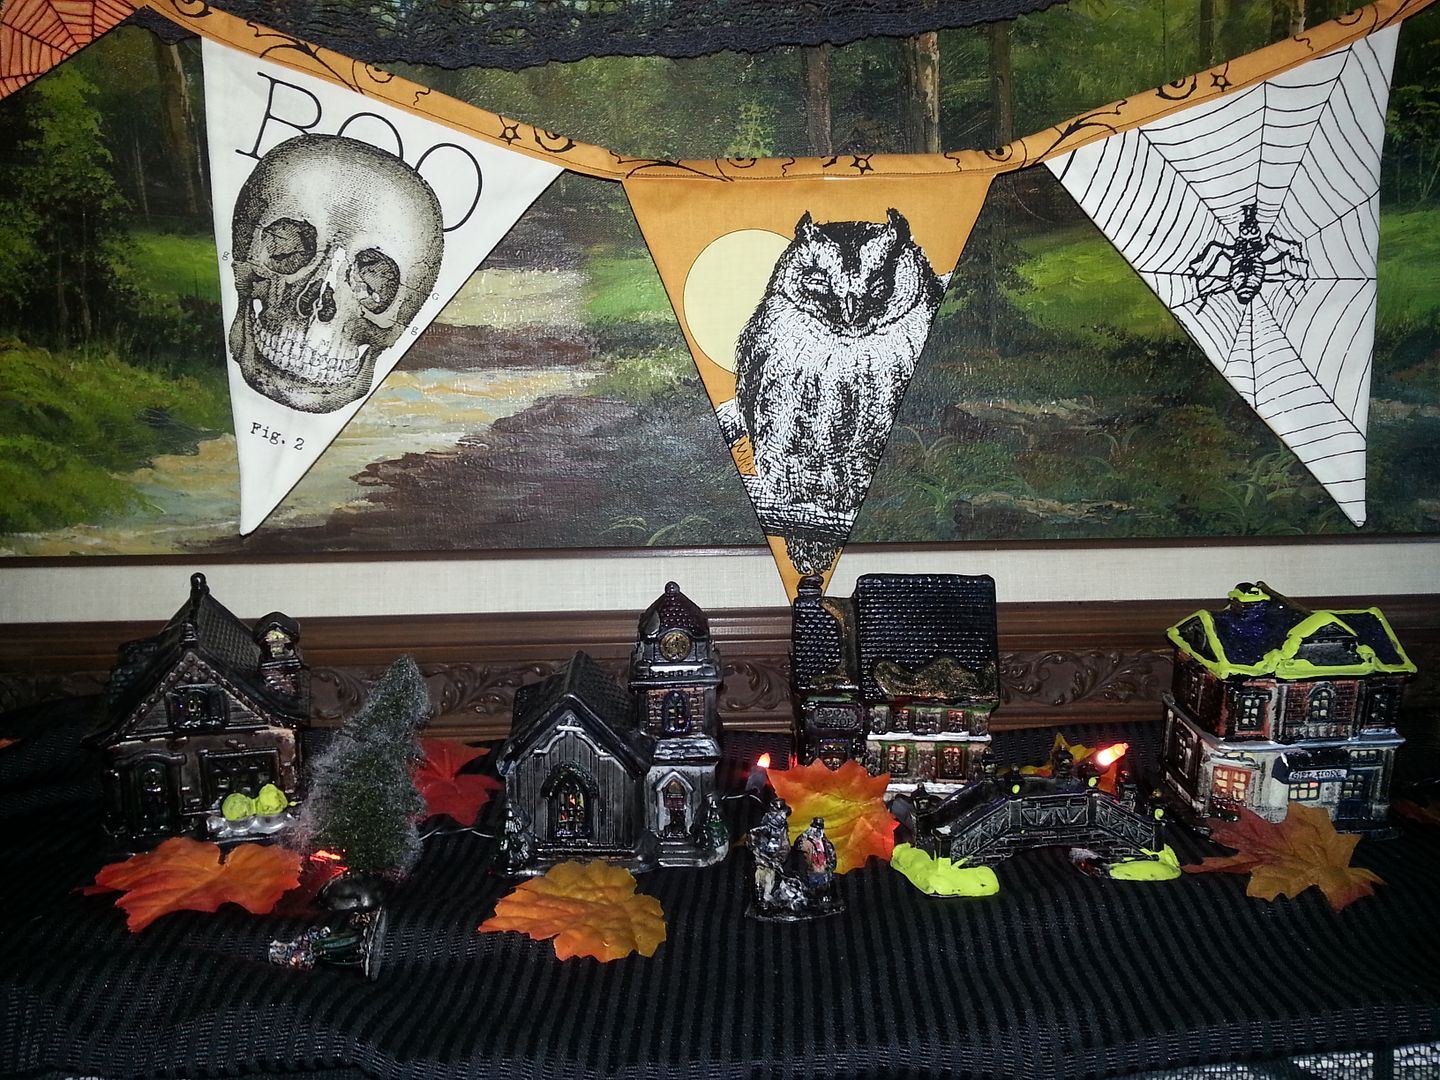
For now, I've secured the ends of mine with painter's tape to the back of a vintage painting I have in the living room. It hangs above the spooky town the kids and I made a few years ago.
I hope this was helpful. We were all novice sewers once and I know I appreciate the tutorials I've used over the years.
And finally, to continue with my month-long reveal of my Harry Potter "Project of Doom" quilt, here is block 3:
The purple fabric is from Africa, and I thought it could pass for some international Wizards stirring a cauldron.


0 people stopped folding laundry to write:
Post a Comment